This is the gallery and some of my thoughts while creating a Carthaginian army for DBA. I used to have a blog specially for this, that´s why this gallery has tips and such. These are actually 2 DBA armies, a double Carthaginian army with all the options for use with BBDA (with an ally) or some of the more figure intensive games.
I have painted one of them completely and will be adding the pictures for the second army in due course. This text will of course change once the army is complete, but you´ll be updated everytime I add something.
The army is II/32 Later Carthaginian.
Let´s kick start this thing with the basic element of any wargames army. The figures. In this pic you can see all the figures needed. They are all manufactured by Hat.
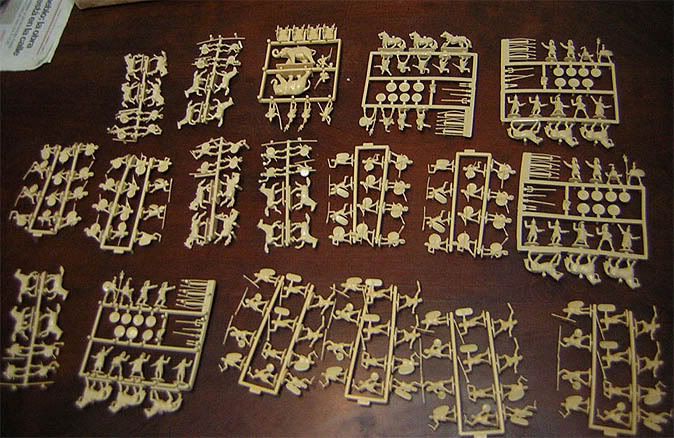
If you consider that each Hat boxed set has 4 sprues, you can see how cheap this ammount of figures actually is. That´s one of the best things about plastic. Cheap and well detailed figures.
In case you are wondering about the Hat sets I´m using, here they are:
War Elephants
Numidian Cavalry
Hannibal’s Carthaginians – Spanish Infantry
Celtic Cavalry
Hannibal’s Carthaginians – African Infantry
Carthaginian Command and Cavalry
The first thing I do is wash the sprues with soap water and, after they dried, pull the figures off of the sprues. I organize them in bases, choosing the best variety of poses and of course checking if I calculated the number of models correctly. If you need help with that you can visit the plastic miniatures bible, called Plastic Soldier Review. I use it as an actual catalog when ordering figures!
I will put them on small bags until the moment of painting so they don´t mix again. This picture shows only one of the armies.

Ancient armies are usually simple. The troop types are clear, the uniforms simple and some liberties can be taken. But you still need to grab the basics of your army. Specially a varied army like the Carthaginian forces.
Here you have some of the books I have used for information and inspiration.
Osprey books specially are aimed at the wargaming public. You´ll find them more than appropriate:
The Punic Wars 264-146 BC
Armies of the Carthaginian Wars 265-146BC
Rome´s Enemies 4: Spanish Armies
And of course you have the internet.


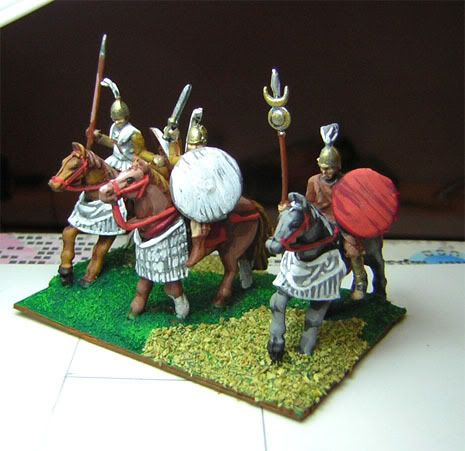
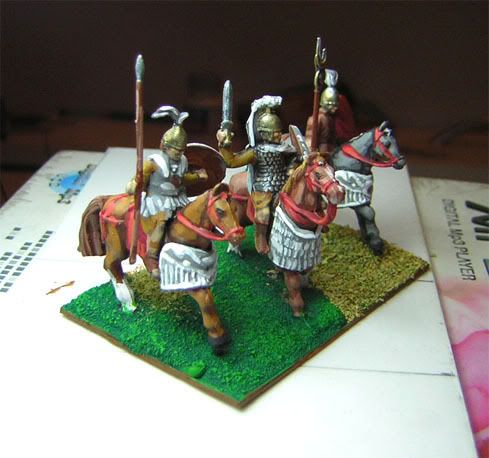
Here´s the General. A 3Cv element.
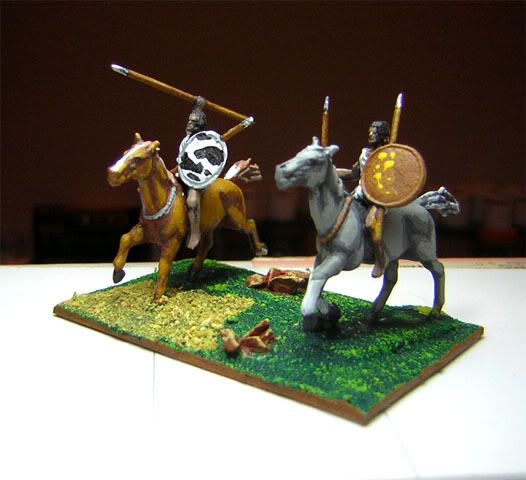
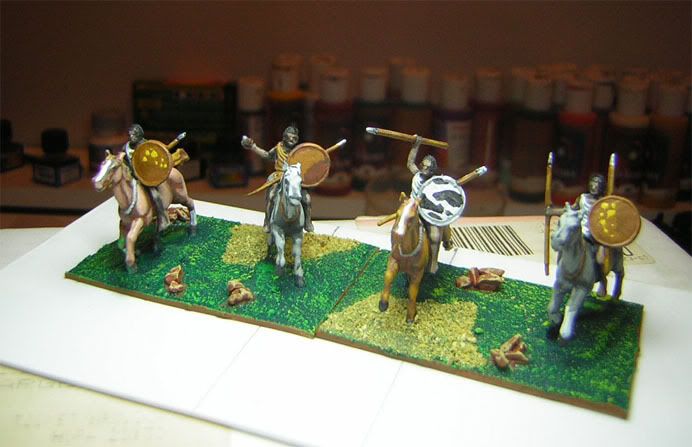
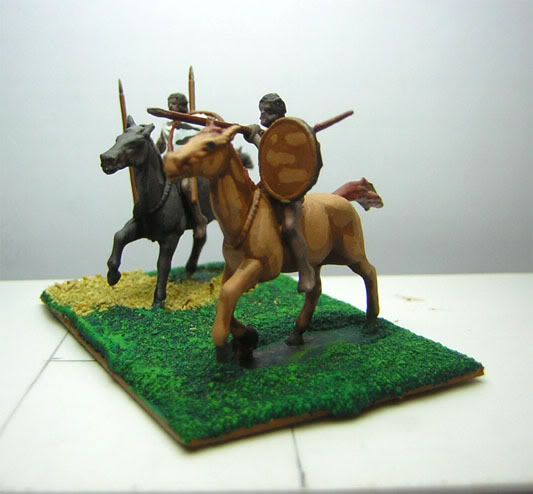
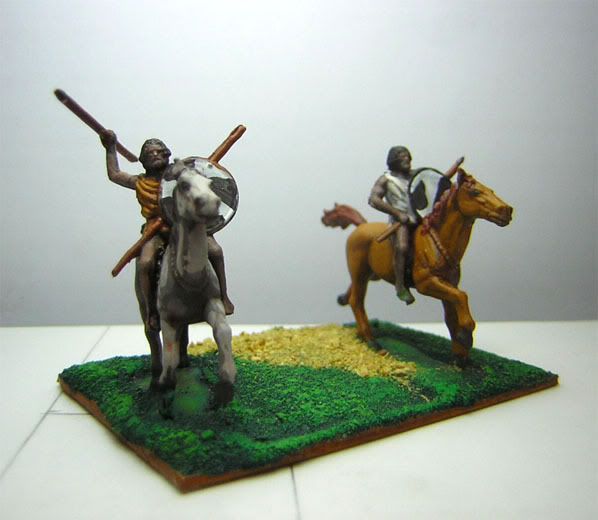
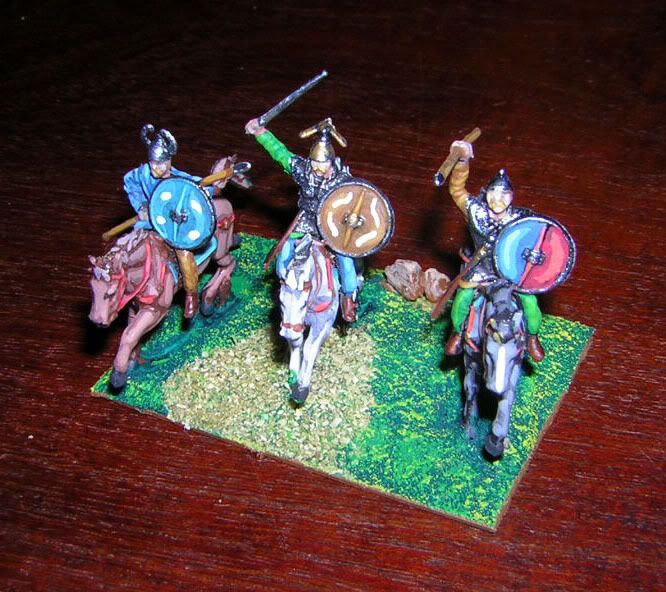
Here you have four elements of Numidian Cavalry, the LH elements.
Beautiful models overall and easy to paint. The position of the horses on the bases, specially with few models can be a lot more dynamic. Even more with plastic minis, where you get lots of poses. Make your elements unique!

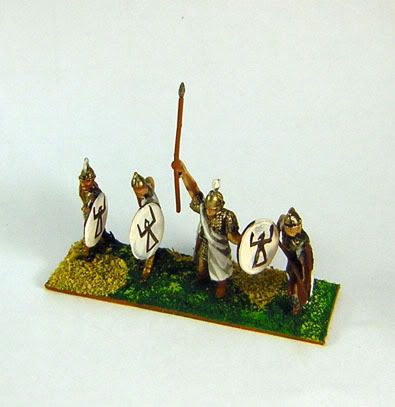
Here are 3 elements of spearmen for Carthage. 3x4Sp.

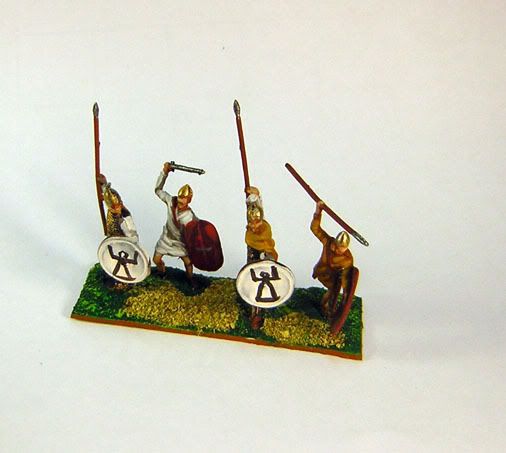
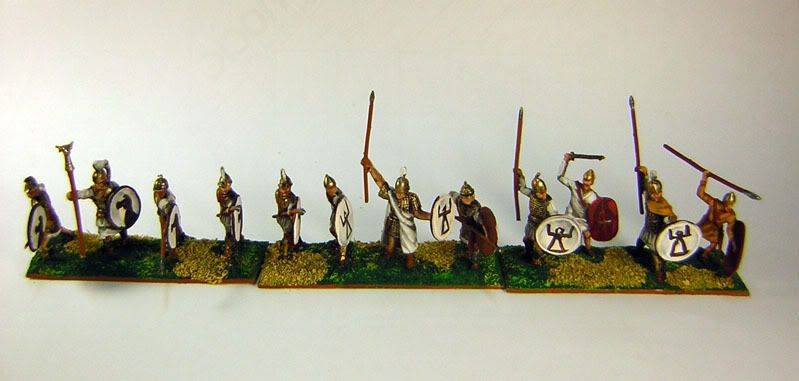
Here you have some Spanish troops. They are warband elements or 3Wb.
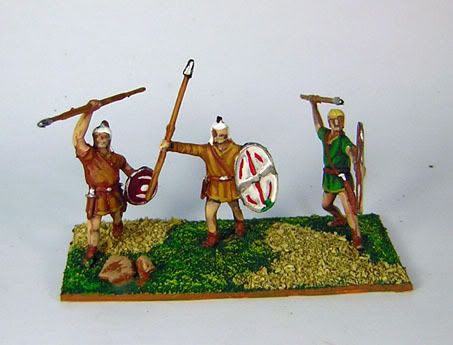
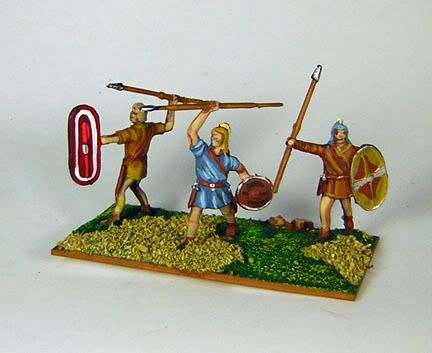
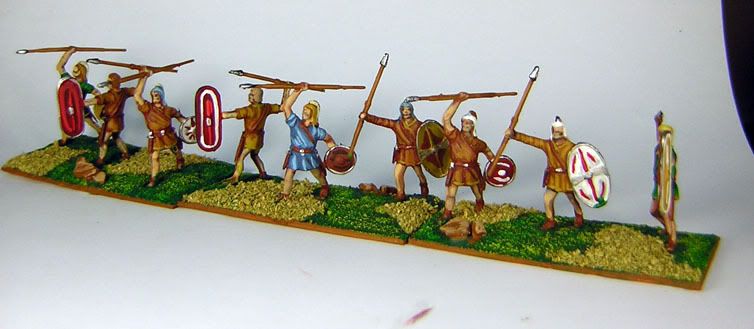
More Spanish troops. This time an element of 3/4Aux.
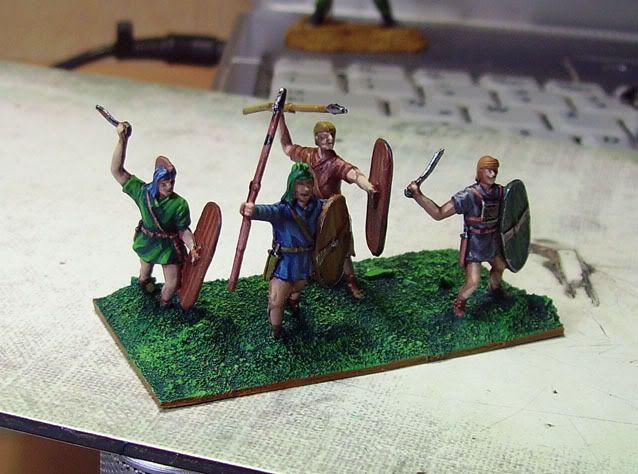
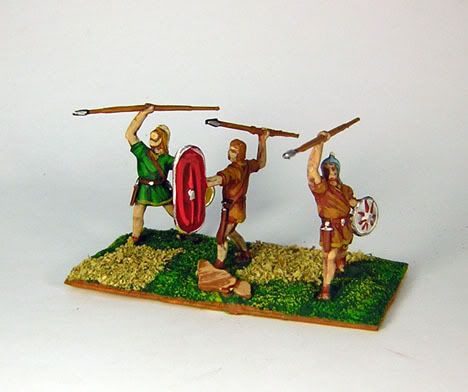
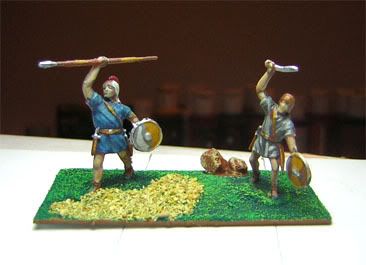
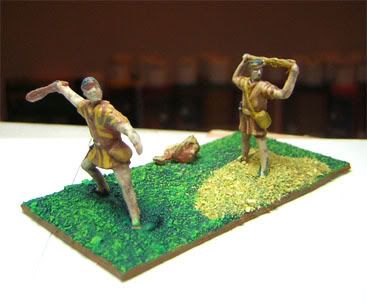
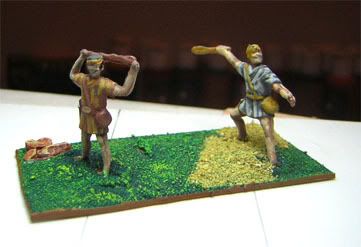
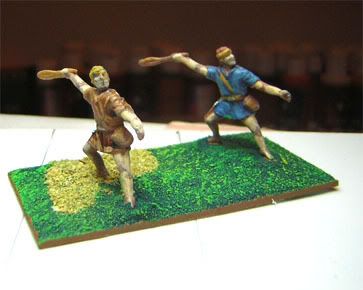
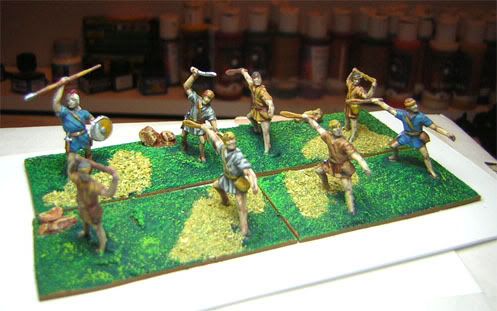
These are the psiloi elements, the skirmishing infantry (2Ps).
They are three elements of balearic slingers and one of caetratti. They are all from the Hannibal´s Spanish Infantry set which has a nice selection on models (including some scutarii that I´ll be using afterwards)
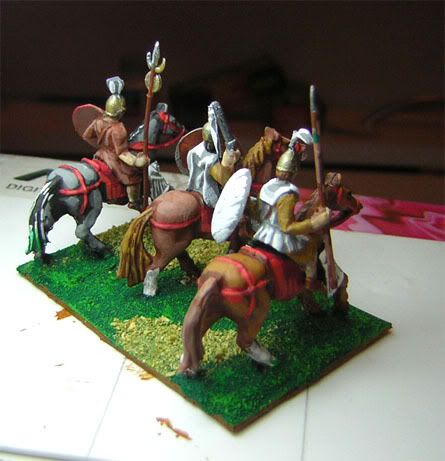
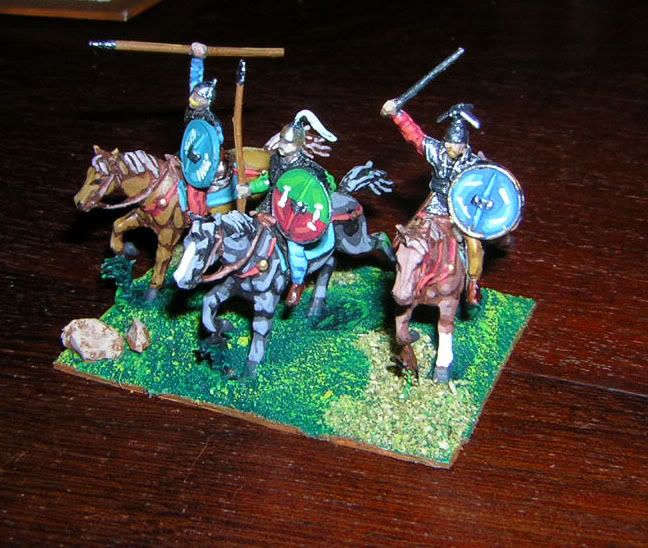
Here are two Celtic cavalry elements (3Cv)

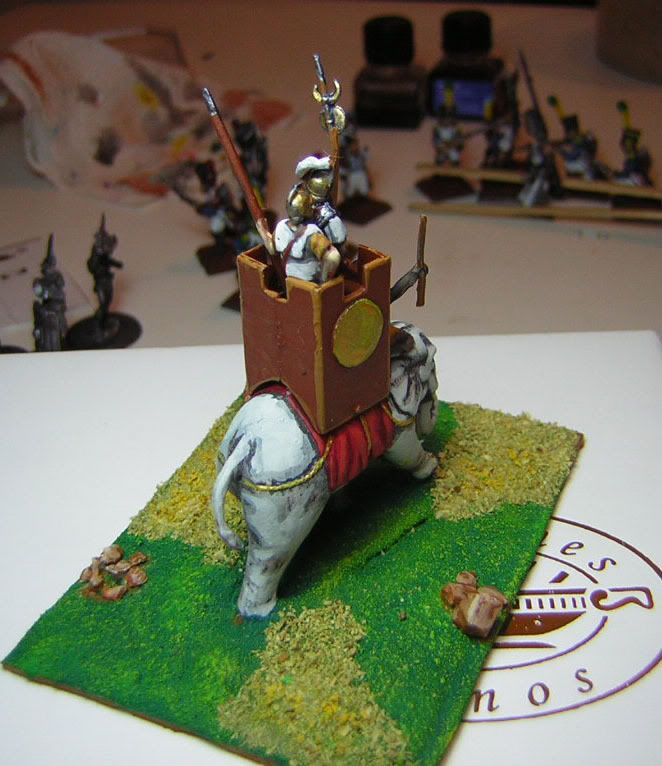
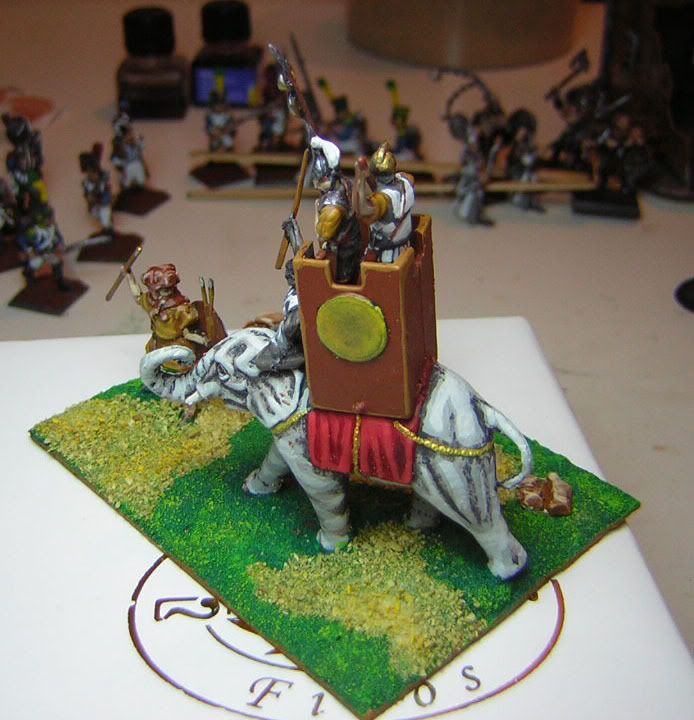
Finally, the elephants. In the many armies I own (historical and others) I have never before painted these beasts. When I thought about it I just imagined “grey”.
The thing was when I faced them with my brush in hand. They would look like statues of elephants if I did them the way I intended. I didn´t want a rocky finish, nor a clean “horse like” one.
So I developed my own technique. Keep in mind these are my first attempts. I have two more to paint so I still have time to experiment.
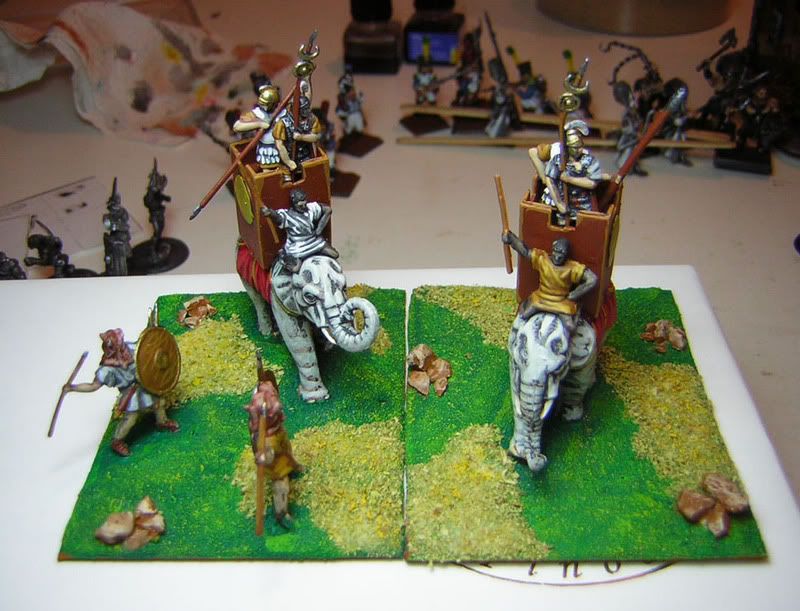
Take a look at the pics and then I´ll tell you how I painted them.
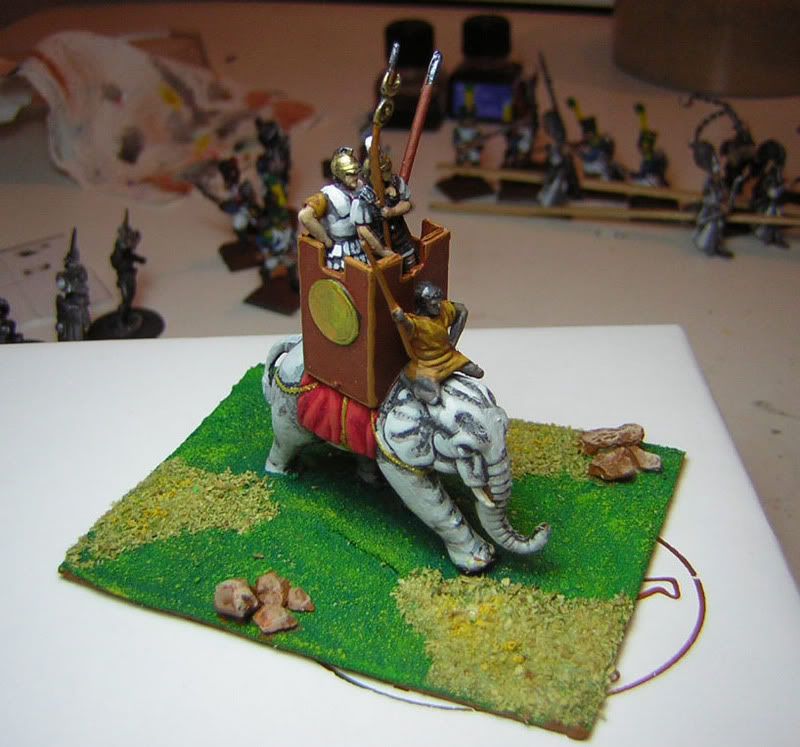
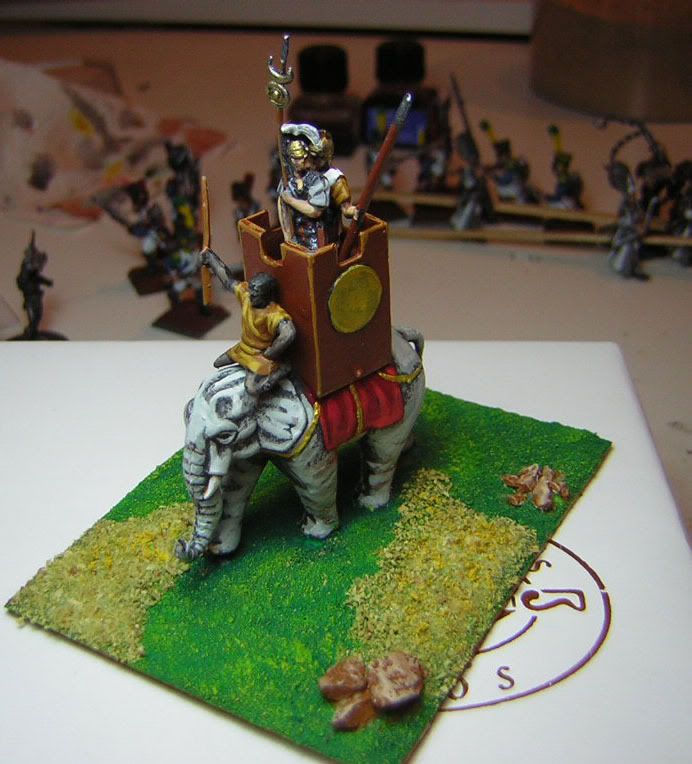
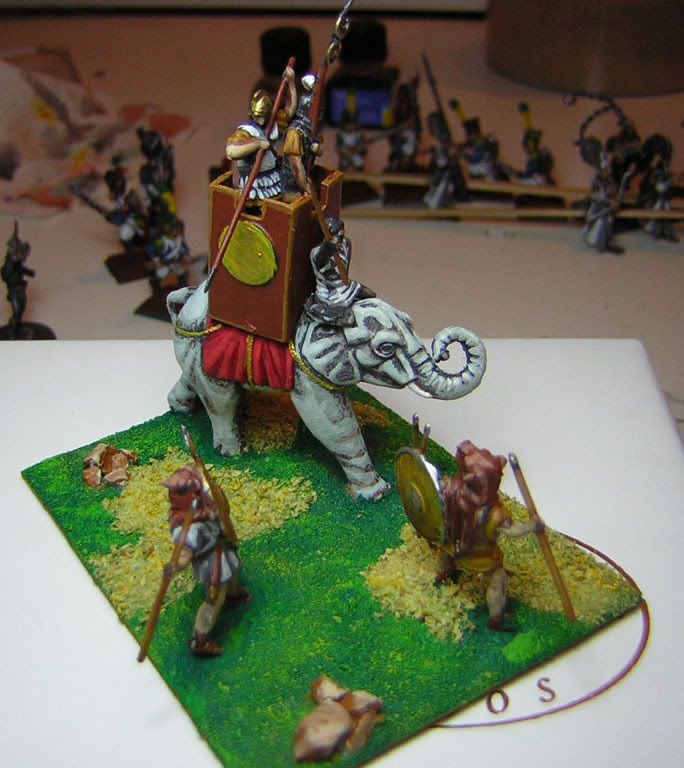
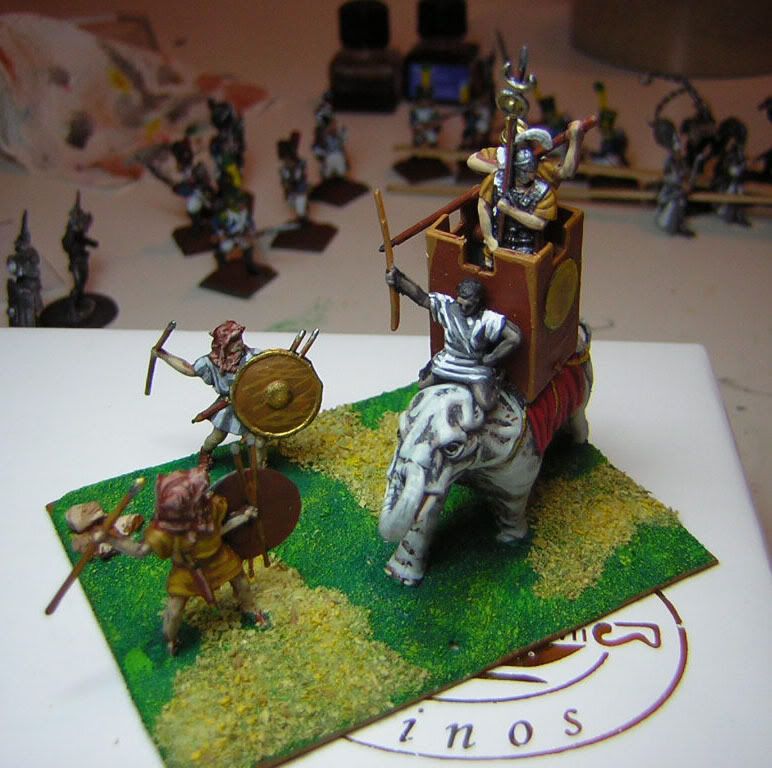
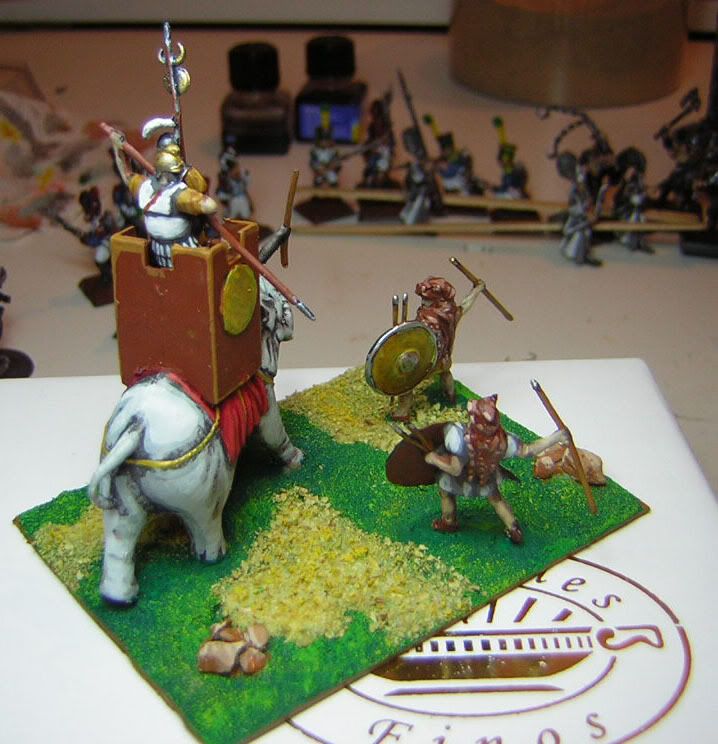
The light roman troops are from Hat´s Roman Catapults set. I knew those figures would come in handy.
So, onto the painting process.
For the basecoat I used a very dark grey color, it´s called Antracita here. Really dark, no “blueish” tone whatsoever. After that I went with drybrush. You know this plastic minis have a very smooth surface. Metal minis usually have some texture, no matter how hard they try to make the part smooth. I don´t know if I´m making myself clear here. The point is that I did a very very detailed drybrush. By that I mean I used a small brush and went from a dark grey to a very light one. I did like 5 or 6 steps of grey (from dark to light)
This gave me a clean picture of the texture of the model and easily defined the bright areas. But it was too clean!! I mean, this thing should be dirty. And not just “mud dirty”. It´s skin should look old, even though we use quite bright colors due to the small size of the minis.
So I just splat brown ink all over the model. Just like when you weather a tank model. Brown ink with a little bit of water. I let this dry overnight.
Now I had a very dirty elephant. It´s skin however, was very real. This is when I grabbed the brush, made (I mix my colors) a grey that was almost as bright as the brightest highlight (after ink that is), and started doing some freehand work, just like when I paint horses. After that I did two highlights, the last one being almost pure white and just for very small details. The two elephants being different in pose was great because I did not repeat the designs on their skins.
After that a last wash with very dilluted brown ink (almost all water, mind you), painted the tusks and the rest of the accesories.

January 29, 2012 at 8:11 am
Nice work. I will definately use this as inspiration when i paint up my Orion Iberian Infantry 🙂
February 9, 2012 at 2:52 pm
[…] Later Carthaginians. The DBA based, 1/72 army that you can see clicking the link. It has however more than twice the required units for a DBA army. Also included a ton of HAT […]